|
Output Settings
Goals
After completing the environment and material settings required for rendering,we go to the final step, the output. In this chapter, we will learn to produce image maps that can assist further photo editing, and get the proper output settings.
Content in a nutshell
Image maps (render element) assist further image editing. Here listed some useful ones.
- ID: colored objects in the image by different IDs (material ID, object ID, render ID), makes objects easy to choose later in Photoshop.
- Raw GI: render the scene with overridden materials, which shows the light and dark value relationship.
- Diffuse: texture map
- Shadow & light: Shows contrasting shadow and light effects.
Output settings determine the picture size, format, storage path, etc. They are quite easy to understand. For further editing, we need to especially pay attentional to these two settings.
- Dimensions (pixels, aspect ratio)
- Background (transparent/filled)
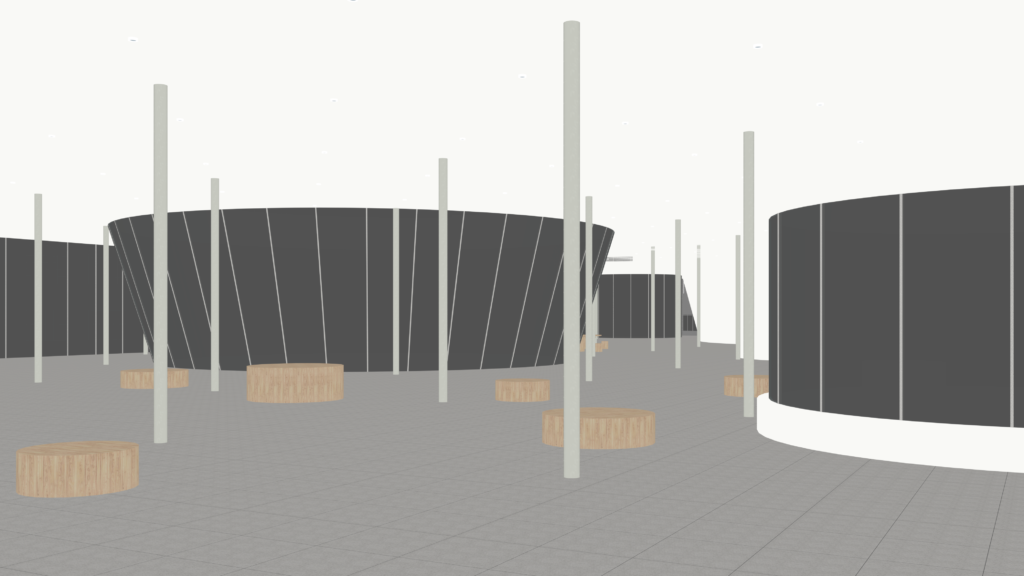
Image maps (Render elements)
ID: attach different colors to objects in different categories.
Material ID: Attach colors to objects by different materials. Help us choose the same material in further photo editing.
Object ID: One color for each component. Help us choose different components in further photo editing.
Render ID: One color for each object. Help us choose different objects in further photo editing.
The difference between object ID and render ID: for object ID, objects that share the same component will have the same color; for render ID, no matter whether the components and the same or not, each object is colored differently. For example, the rod of the handrail is a repetitive component, they have the same color in the object ID’s image, while in render ID’s image, each rod of the handrail is colored differently.
Left: material ID; Middle: object ID; Right: render ID.
Model: Muran Yang &Fanyi Jin; Picture: Fanyi Jin
Raw GI
Render scene with overridden materials, which shows the light and dark value relationship.
Notice the transparent material such as glass and liquid, they will block the scene behind them if being overridden. For Vray, there is an option to forbid material to be overridden in the settings for each material.
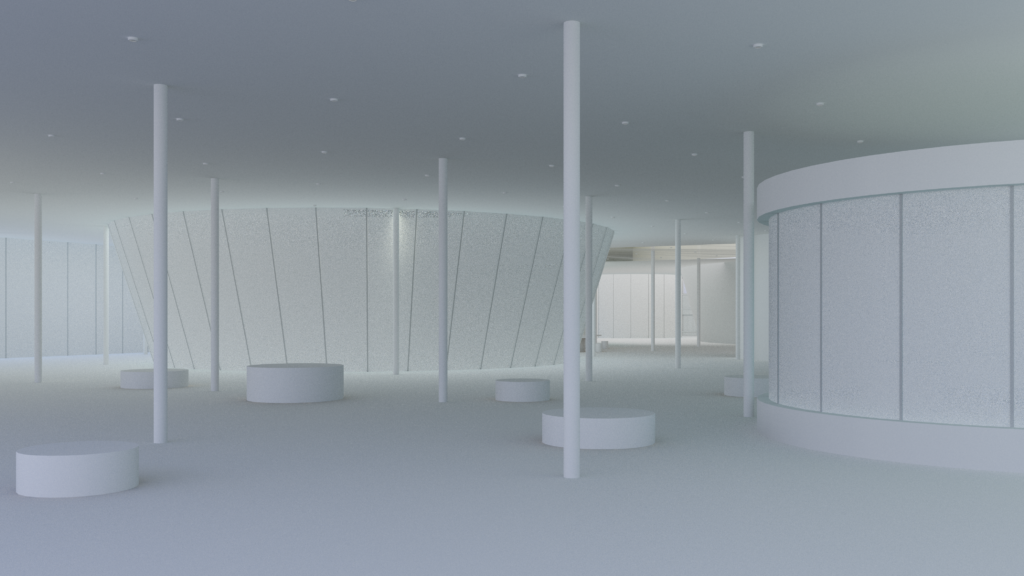
Picture: Fanyi Jin
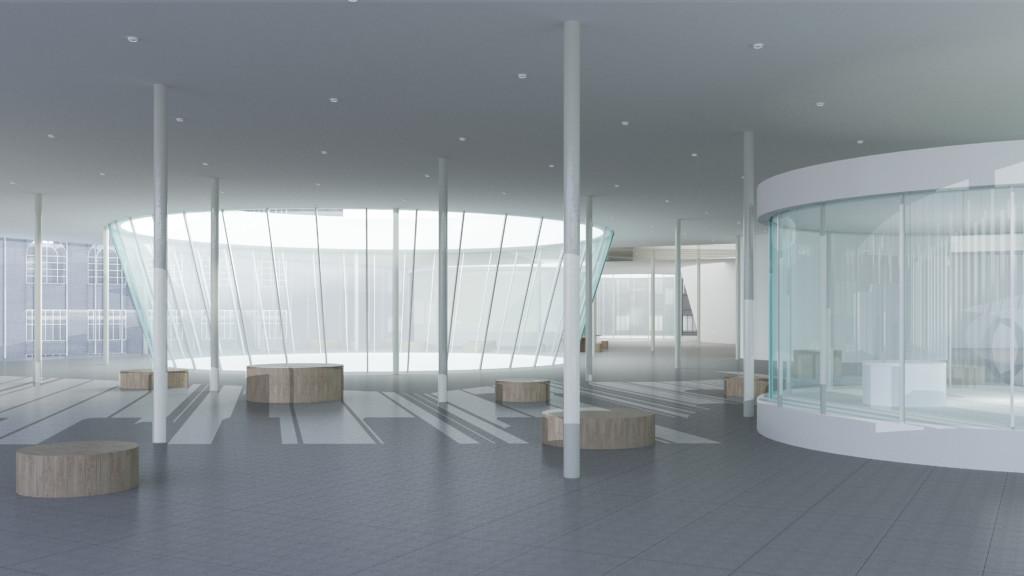
Diffuse
Texture map. Sometimes, if we are not satisfied with the material texture, we could directly collage the texture images on the Raw GI picture instead of using the already rendered texture.
Picture: Fanyi Jin
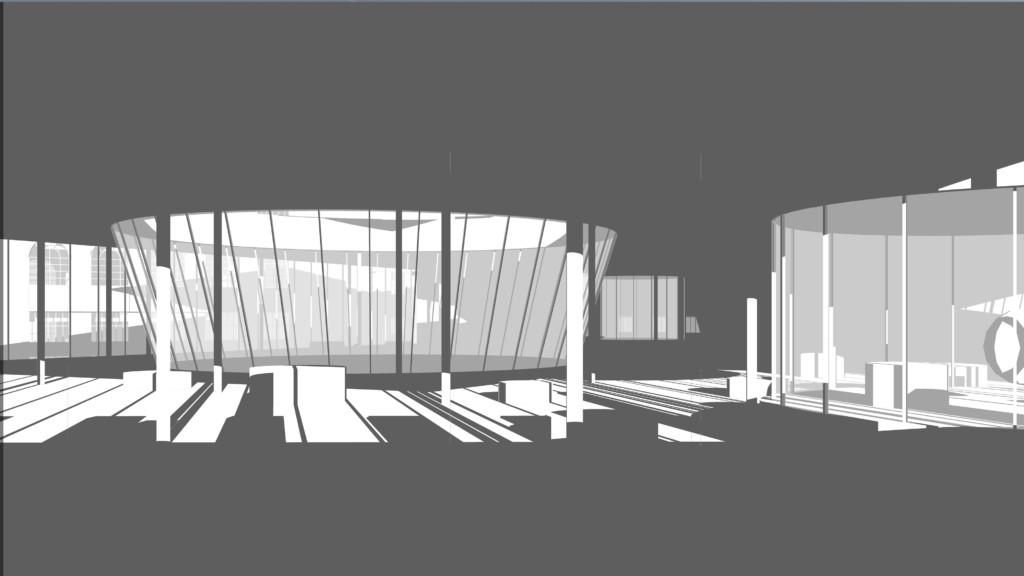
Shadow map and light map
Shows contrasting shadow and light effect. Shadow could be directly export from the 3D model scene. The light image sometimes could be used to produce night scenes.
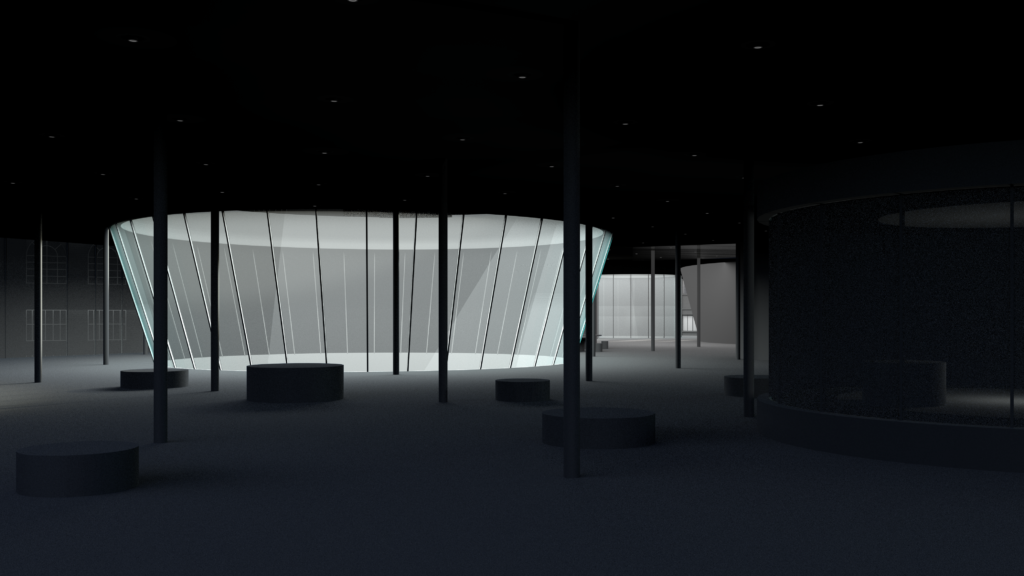
Picture: Fanyi Jin
Output settings
Dimension
Choose proper pixels and aspect ratio according to the drawing size and using purpose.
To ensure the scope of the scene, we can either match the aspect ratio to the viewport or open a safe frame indicating the rendering scope.
Background
The transparent background makes further photo editing easier, especially when the edge of the objects is complicated, and the exterior scene could be seen through the glass.
Forbid display sky: Close the bitmap of the environment. Please notice that this will also change the environmental light.
Transparent background: Output png. instead of jpeg. will automatically delete the background.
Congratulations! Now we get a final rendering layout of proper size and format and plenty of pictures that are helpful in photo editing.
There is another small tip: superimpose the picture map we mentioned above.