|
The Basic Features of Rendering: Environment
Goals
Environment properties simulate the interaction between the 3D model objects and the actual environment. In other words, it can be compared to taking a picture. The information that affects our eyes most, in reality, is the environmental parameters to be adjusted.
Among them, light is the most important parameter, and although we can adjust the brightness and other effects in later photo editions, some of the qualities that affect the realism of the scene (such as overexposure total darkness, the shade, reflection, etc) are difficult to adjust.
We need to know what is the basic environment features of rendering, and then adjusting environment parameters properly.
Content in a nutshell
Environment properties mainly include light, background, depth of field, etc.
- Light & shadow (nature light, artificial light): the main parameters here are light direction and intensity.
- Background. Usually use HDR pictures which can simulate the overall environment, including light and background.
- Fogging & depth of field: the concept is widely used in photography. Depth of field is the distance from the closest clear object to the farthest clear object in the photo, reflecting the sense of space in the scene. (See also in Aperture). Fogging, as the name suggests, simulates the unclear air.
Light & Shadow
The main parameter of light is direction and intensity
Nature light
1.Choose global light mode: Sunlight / Overcast.
Sunlight provides clear shadow and relatively high-saturation color, while overcasting blurs the shadows, and the color saturation is low. We could think of taking pictures of the scene, the choice of global ambient light depends on the atmosphere we want.
Left: sunlight;
Right: overcast.
2. Setting dates, time, and region (sunlight); setting dome light and proper HDR (mentioned later in the context) as light texture.
3. Adjust light color and intensity.
Light intensity (luminous intensity) is a measurement of how much light is received by human eyes. If the intensity number is high, the scene is "bright"; if the number is low, the scene is "dark".
Note that similar to photography, although we could adjust the brightness and contrast later in photo editing, we should make sure that required details and overall light environment is setting properly when rendering the picture.
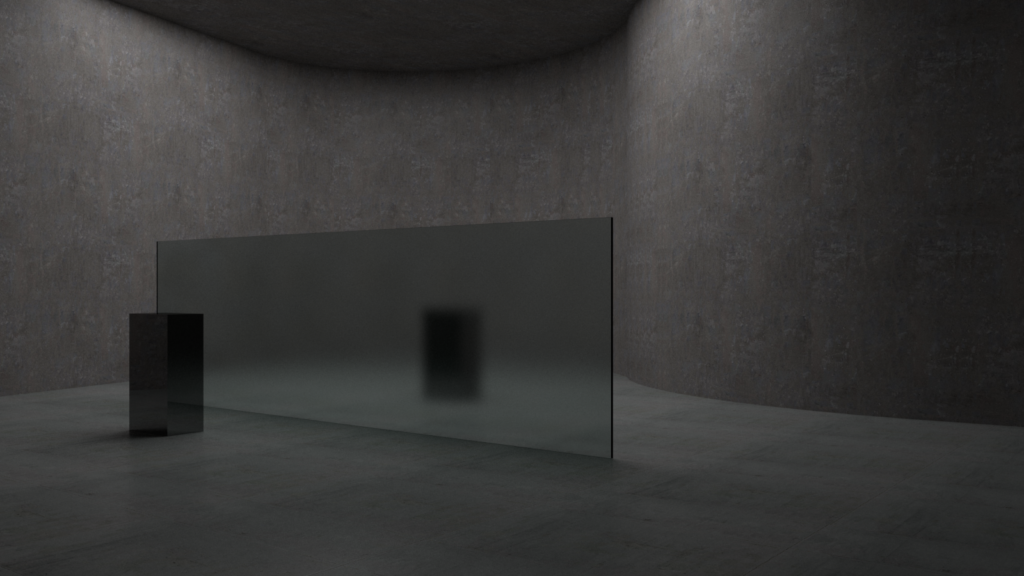
Left: Warm light color;
Right: Cold light color.
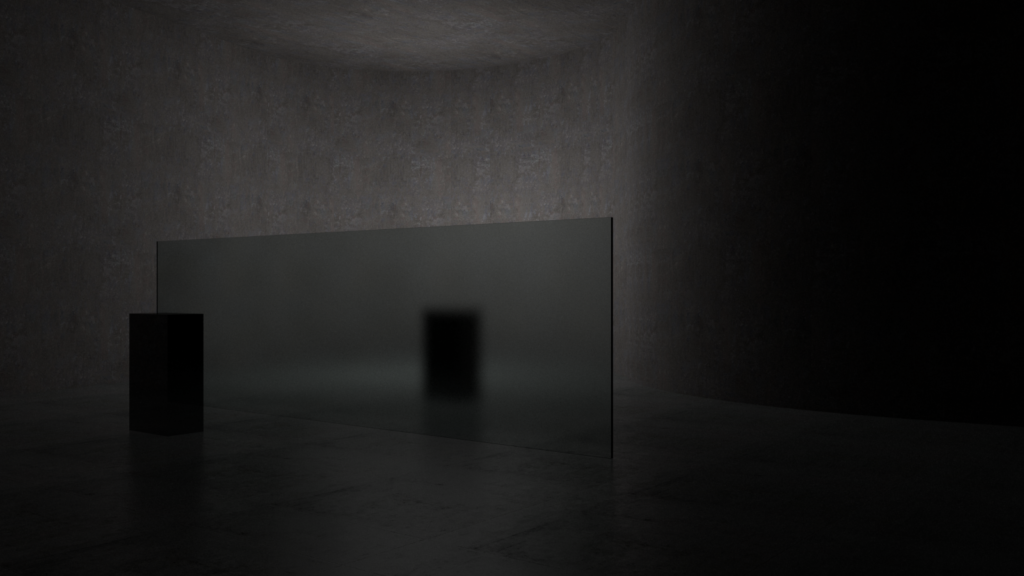
Left: Low intensity;
Right: High intensity.
Picture: Fanyi Jin
4.Choose to hide or show the sun.
We could hide the sun if no strong halo is needed in the scene, or we want to avoid the sun appearing in the reflection of the glass and water.
5.Shadow setting: shadow color, edge blur (usually use the default setting).
Shadow color could be lighter or darker depending on the effect needed. Darker shadow colors display a strong contrast. I recommend producing a shadow-only picture, when editing the photo, superimpose it on the overall scene picture, adjust the transparency to achieve the change of the shadow brightness.
Edge blur softens the boundary of the shadow. The edge line that is too sharp looks fake, but sometimes it will produce a unique effect. Again, it all depends on the atmosphere of the scene.
The video below uses Rhino to show the edge blur effect. (It is not a significant effect, please pay close attention to the edge of the shadow when watching the video.)
Added light
- Preview the light environment, observe where the light is insufficient or excessive.
- Choose proper light type:
- Surface light (rectangle light): provides a uniform luminous surface. Suitable for increasing the brightness of large surfaces.
- Sphere light: lighting all directions. Suitable for increasing the brightness of the whole space.
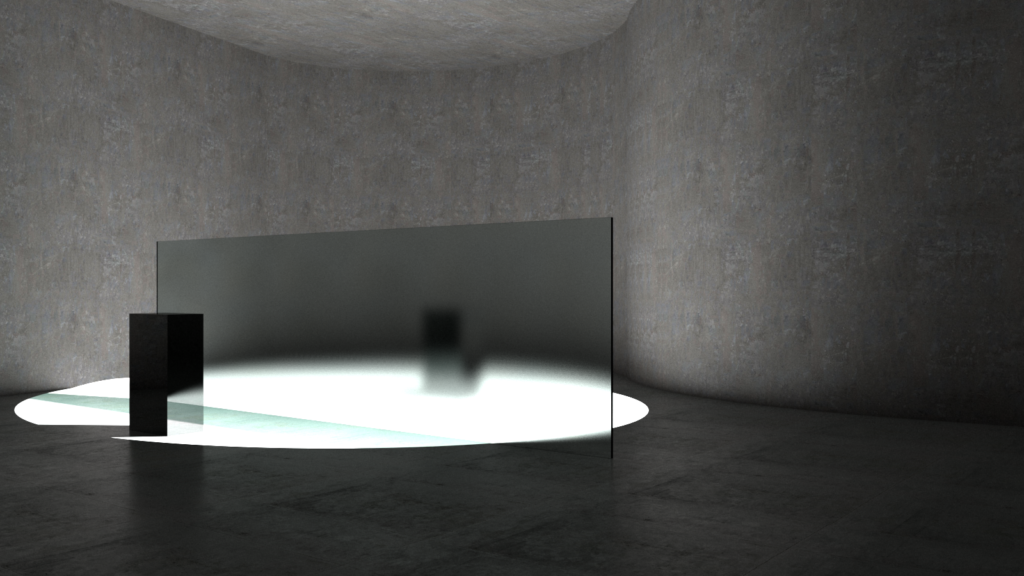
- Spotlight: focus on specific objects, have obvious illumination directions. Suitable for rendering visible lights.
Picture: Fanyi Jin
- Adjust light color and intensity. Adjust light attenuation: When light travels through a medium, it will scatter or be absorbed, as a result, the intensity will reduce by distance.
- When adding light as sunlight, the attenuation could be set to zero, while in other situations, there should always be an attenuation.
Left: No attenuation;
Right: High attenuation.
Picture: Fanyi Jin
Background
1.Choose a proper background picture. We could use HDR instead of normal pictures for better environmental performance because 360-degree HDR images can produce light and reflection.
HDR: High Dynamic Range Image produces a greater range of luminosity than standard digital imaging or photographic techniques (Vray tutorial: HDR). It could be understood as a large-scale panoramic map with light settings. It is an important environment setting.
The image should have enough resolution/pixels for the intended use. Also, make sure that you have the right to use the image (appropriate license). There are many websites that produce nice HDR pictures, for example, Peter Guthrie.
Left: HDR environment picture: simulate the sunset;
Right: HDR environment picture: simulate sunlight during the day.
Picture: Fanyi Jin
2.Trees and other additional environment textures (such as posters, graffiti, people, etc.) could be added using images with transparent backgrounds.
Note: Usually import png format.
Some special pictures can be rotated with perspective to ensure that the front of the picture faces the scene, which is handy when a large number of trees are needed in the scene.
Although trees could be added later in the photo-editing phase, trees made in the scene would affect the shadow.
The tree can also be made by a 3D model, but the loading speed and rendering speed will be slower than using 2D images.
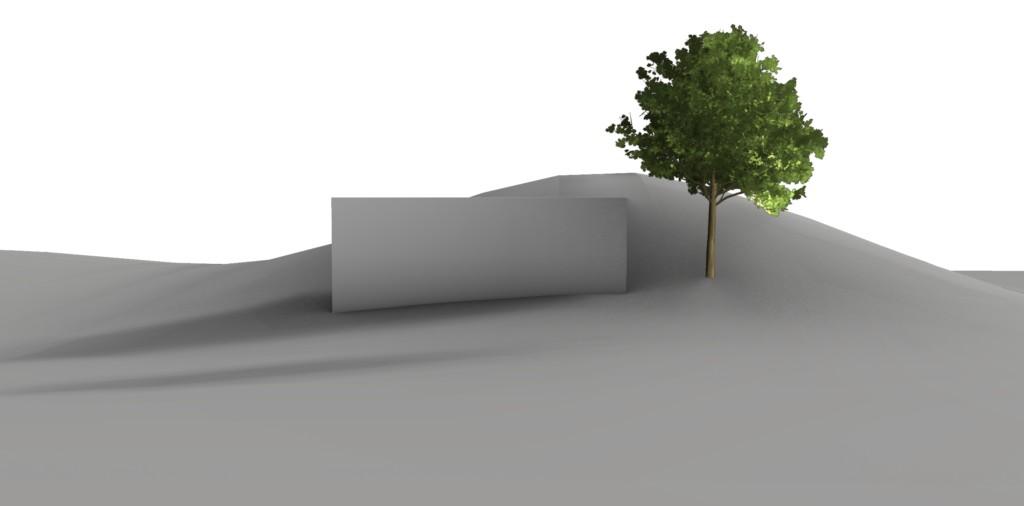
Import a png file as tree in the scene. Picture: Fanyi Jin.
Depth of field and fogging
Depth of field is the blur effect that shows the distance of objects, which can enhance the sense of space of the scene.
Fogging shows how the light dims when passing through the non-clear atmosphere (more in Vray tutorial: Environment fog). This will increase the effect of depth of field.
Note: This effect could be editing later on the image.