|
Adjustment Layers
Goals
You will learn what adjustment layers are and why you should always use them instead of editing the original photo. See also the chapter about Color Correction and Layer Masks to understand more.
Content in a nutshell
- Adjustment layers cover all the same adjustments that can be done straight to the image.
- Adjustment layers are a non-destructive way to edit a photo, as they can be edited repeatedly and removed
- Adjustment layers have the same editing capacity as the other layers do, they can be used with masks, with different opacity levels, and with different blending modes.
What are adjustment layers

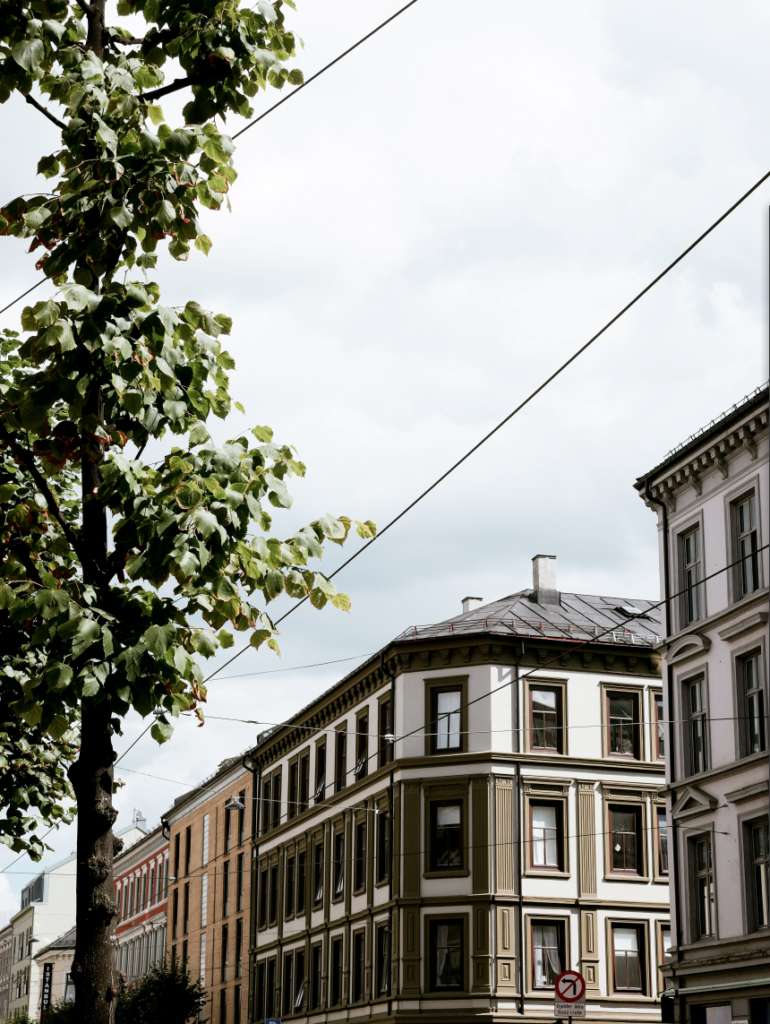
Change the image to see the editing. Original photo:Andreas Dress on Unsplash
Adjustment layers are special layers that can be used to create color correction adjustments to an image without permanently affecting the original image.
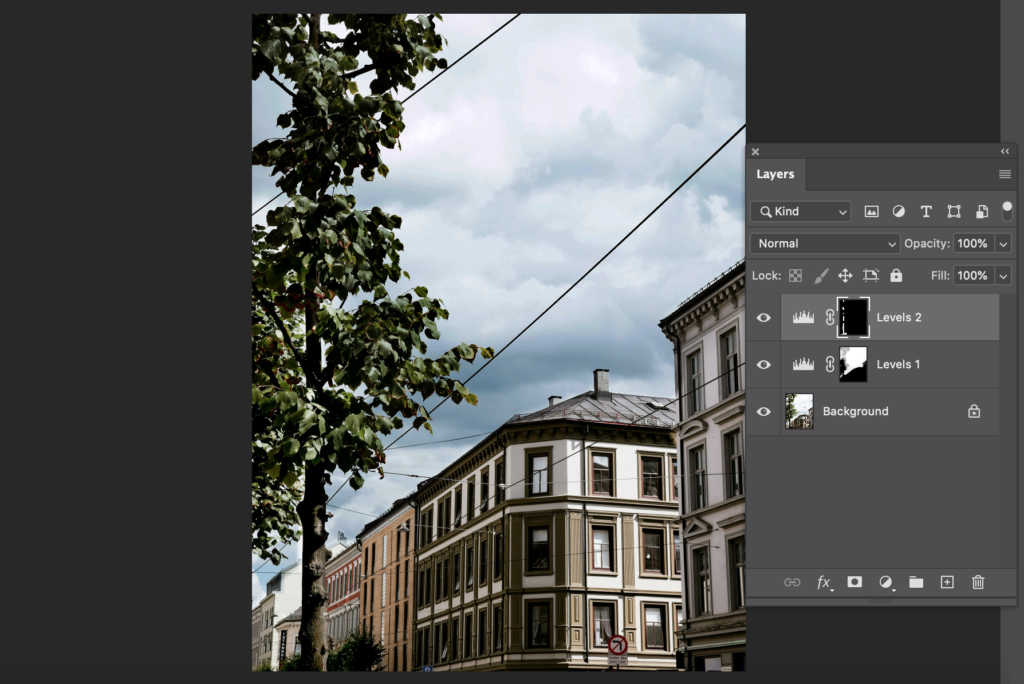
Adjustment layers allow adjustments to be edited indefinitely. In addition, all other layer properties, such as layer masks, locks, blending modes, opacity, and so on, apply to them. In addition, when you use adjustment masks instead of editing the original photo, you can easily see how your editing affects the original photo by clicking the eye icon of that adjustment layer. That way you can have many different adjustment layers and see which of those work best for your photo. That way you won’t lose different versions of your editing.
The most common color correction adjustments were made in the Photo editing basics section. All the same adjustments can be found in the adjustment layers panel.
How to add adjustment layers
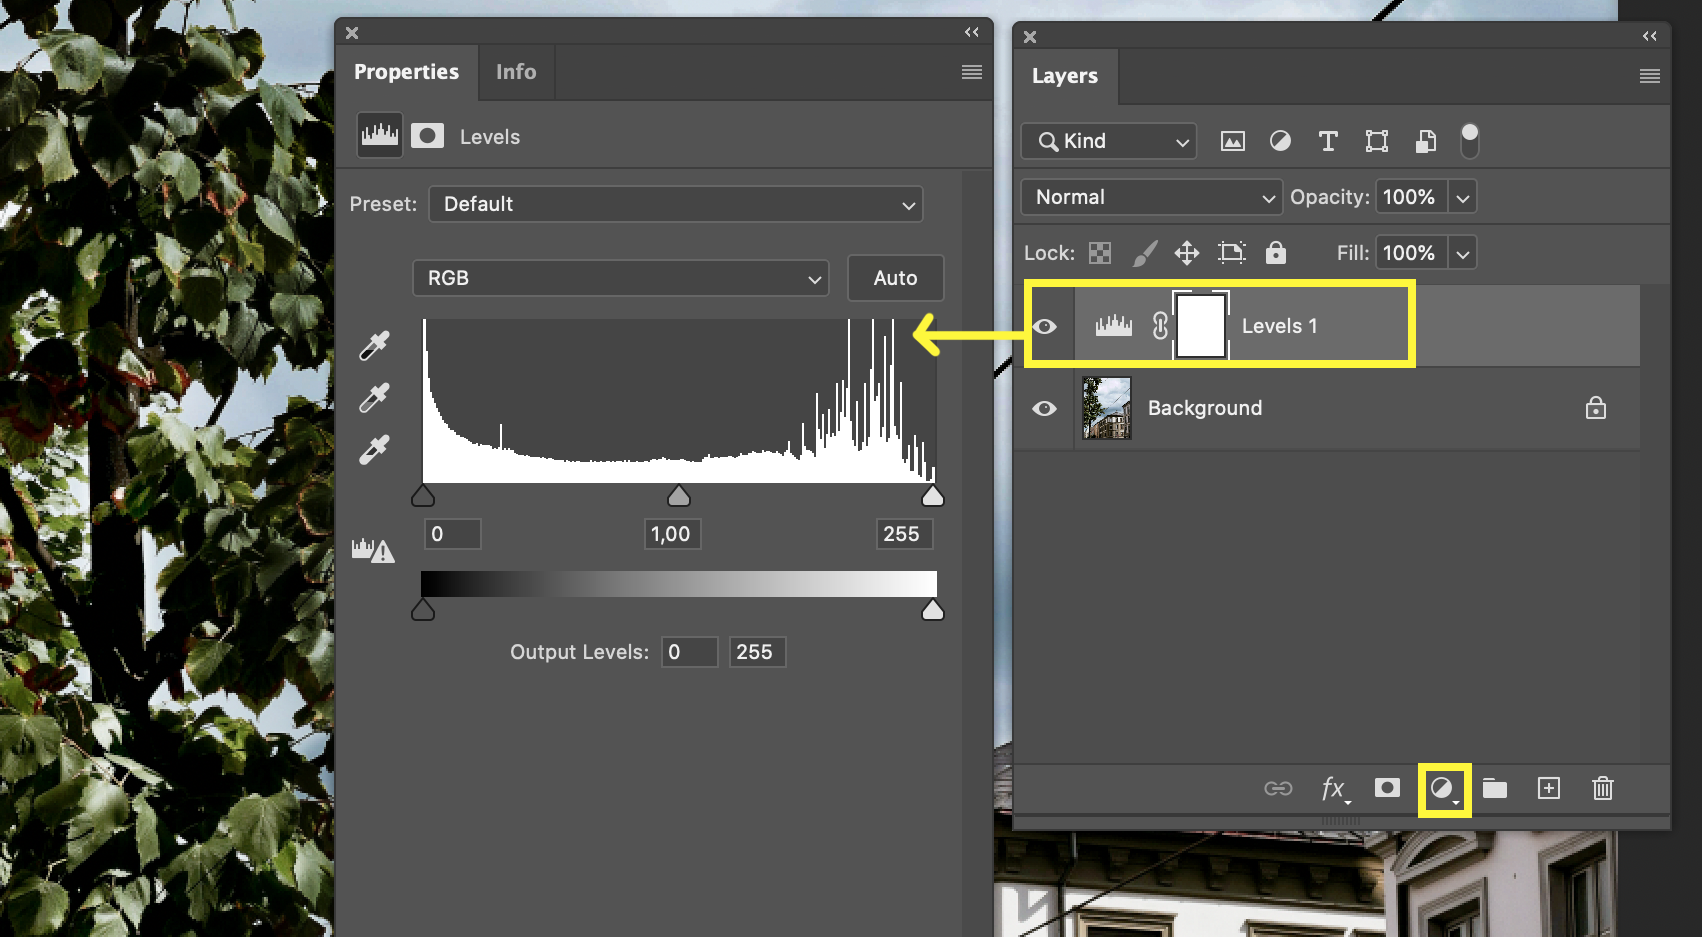
Adding an adjustment layer is easy and is being done by clicking the half-circle icon on the bottom of the layer window. It gives you the same adjustments like the one that can be found from the upper panel Image -> Ajustments.
When the adjustment layer is created, it automatically creates a mask and a pop-up window for the adjustment tool, such as levels. You can go back to the adjustment layer's adjustment as many times as needed. Make sure you click the adjustment, not the mask next to it if you want to edit your adjustment more!
Adjustment layers and masks
With adjustment layers, many different adjustments of color and light can be easily made to the same image using the layer-mask feature.
For example, you can adjust the color balance of an image only for a specific area, or create an HDR effect by applying light adjustments differently in different areas, most typically, bringing light to shadows and depth to points in the image.