|
Repairing Tools
Goals
In this chapter you will learn the basics of repairing tools and how you can choose what tools to use for which purposes.
Content in a nutshell
- There are multiple ways for repairing or removing an item from a photo.
- Healing brush tools are great for covering small areas in a photo and they act like a brush.
- Clone stamp tool copies the targeted area and paints that area over the area that needs to be removed.
- The more complex the area that needs to be edited out is, the more tools you need to use. Often the best results come by combining different tools and methods.
You can repair an image in several ways, using tools that are specifically made for repairing or duplicating a certain area and covering another.
Whether you are retouching a portrait, removing an item in an image, or continuing a background, repairing tools are great for those purposes. Usually, the best results come by combining different repairing tools and selecting and duplicating the original photo, or combining several similar photos to form a realistic outcome.
Next, we will take a look at a couple of ways to remove an element from a picture.
Spot healing brush tool
Tools that act like brushes, such as spot healing brush and healing brush tool are great for removing small objects in a picture. They combine pixels from the surrounding and form a patch over the area that has been painted with a fixing tool. With tools like that, you can fix the size and the hardness of the edge to suit your needs.
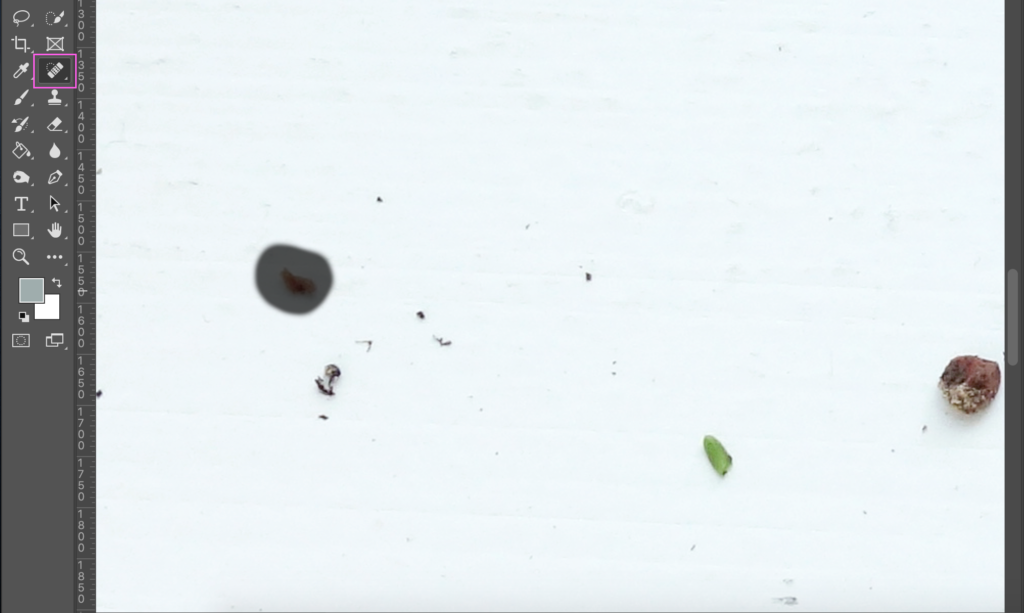
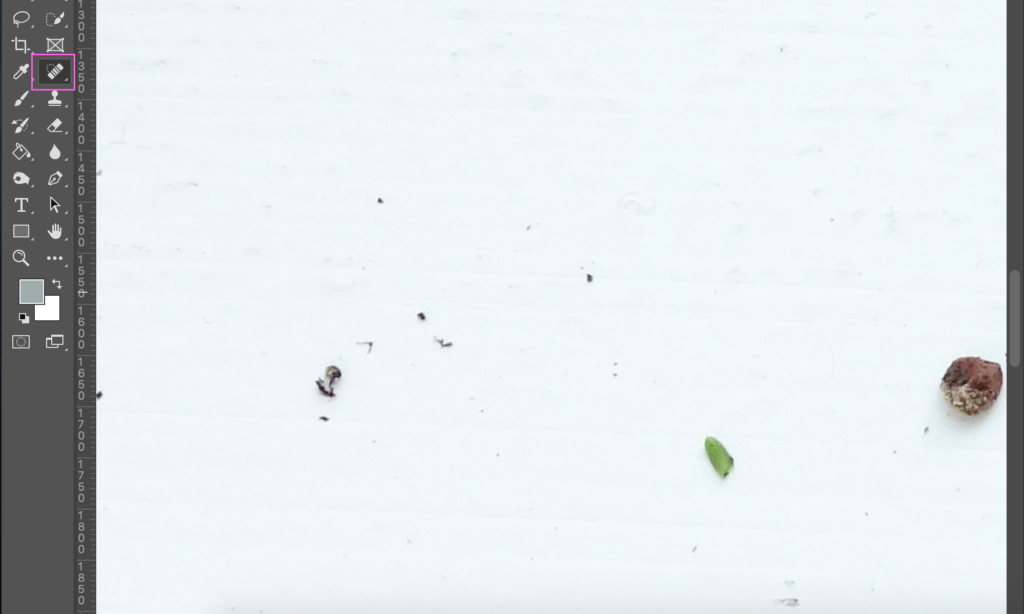
Photo: Liisa Hannula
Clone stamp tool
When the object gets bigger, you might need to consider using another tool, such as a clone stamp tool.
The clone stamp tool has the same properties as a brush: you can adjust its size, hardness, and opacity. The clone stamp tool acts like a stamp: first, you select the area that you want to copy, and then you “press” the stamp over the area that you want to cover.
However, if you use the clone stamp to paint with longer strokes, the area will continue the same way as it would from the original spot that was selected first. That’s why using the stamp with several clicks and short strokes is usually advisable. As the tool's name indicates, the stamp makes a clone or a copy of the selected area. Because of that, you should pay attention to avoid repetition in an area that you are covering. You can easily avoid that by changing the spot that you are copying and by changing its size and opacity.
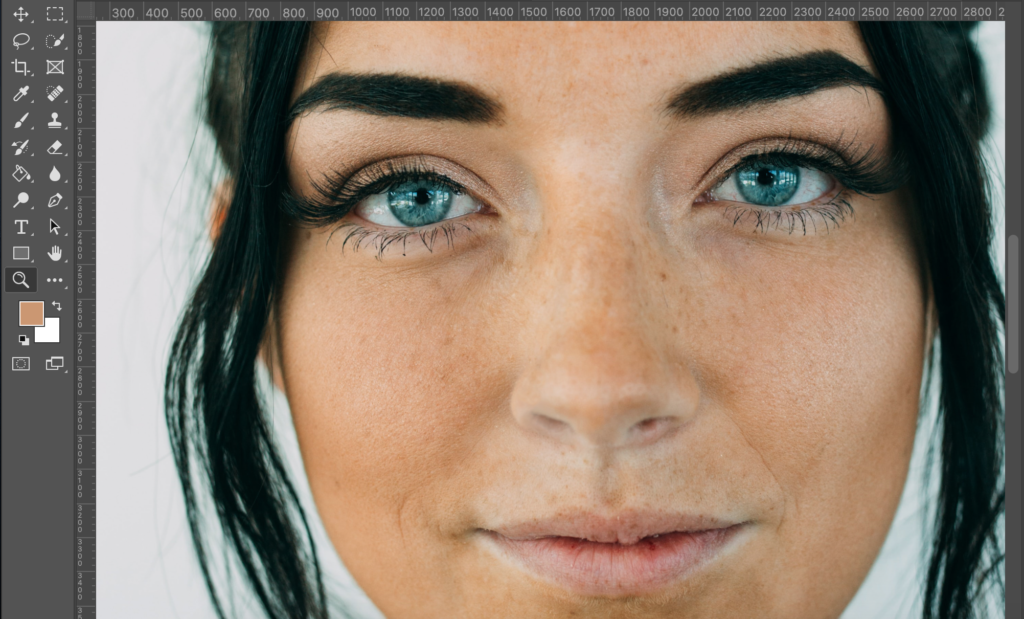
The clone stamp tool is one of the most important tools in photo repairing and it is great for continuing background in a photo as well.
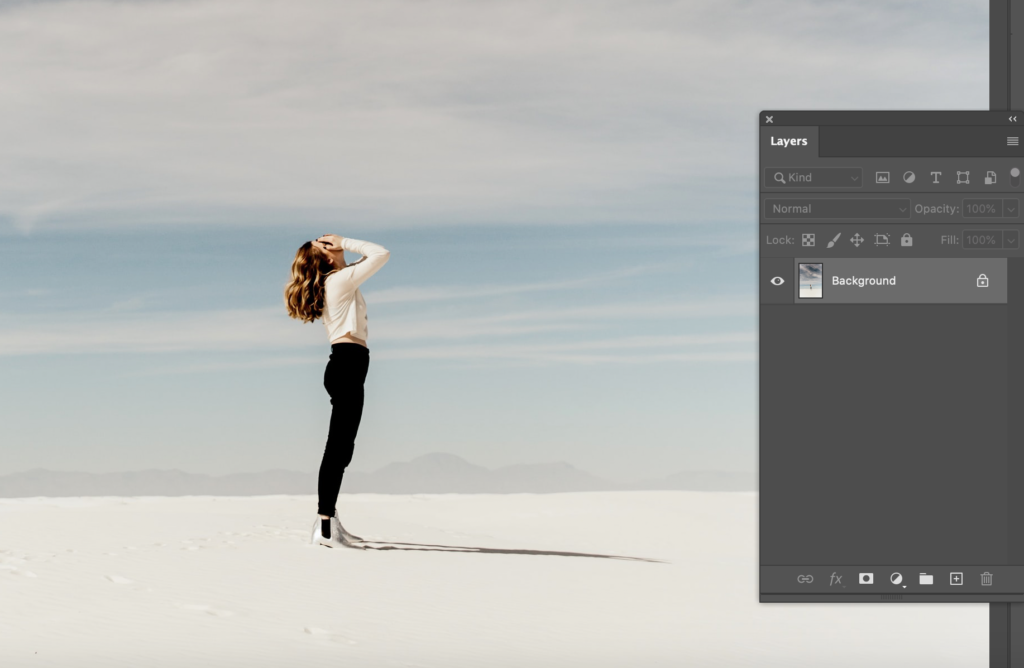
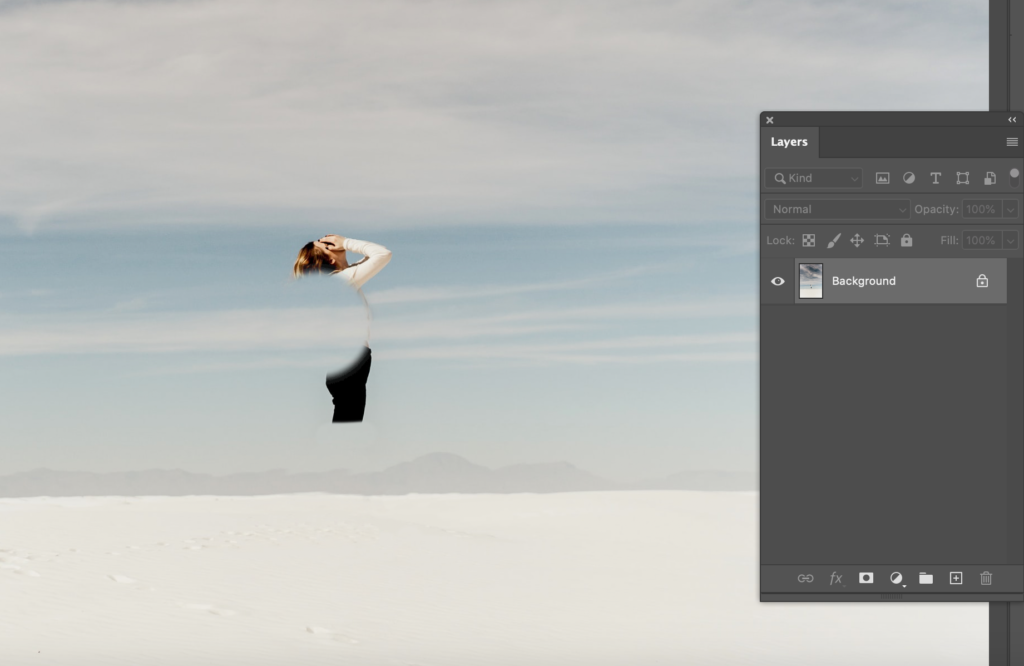
Original photo: Averie Woodard on Unsplash
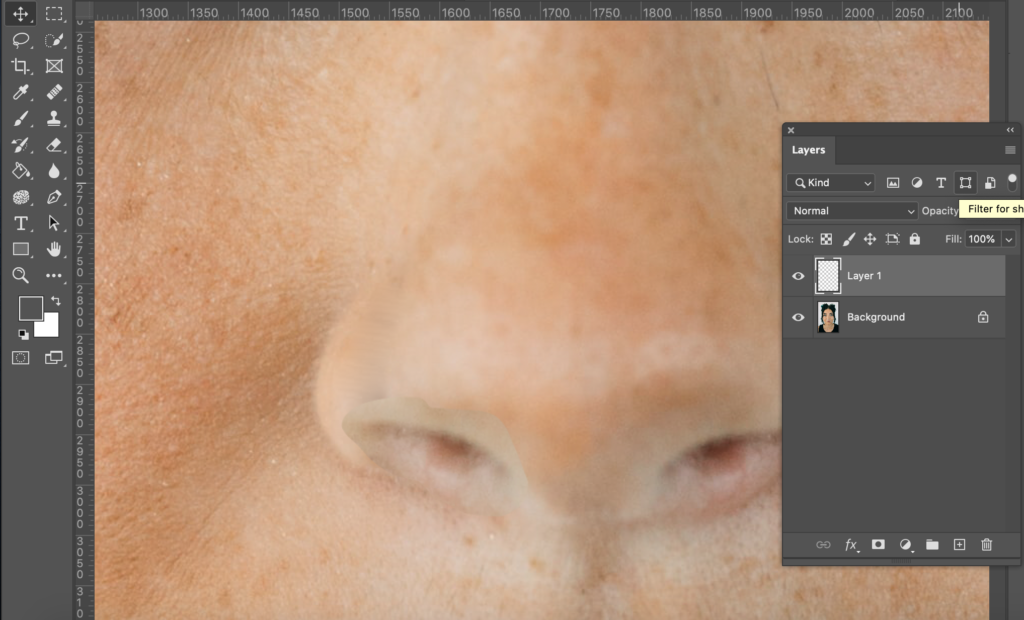
Using multiple tools in repairing process
In addition to repairing tools, copying by selecting an area and transforming its size and ankle (cmd or ctrl + T) are useful when covering larger areas or continuing background.
Sometimes, when the object or feature that you want to remove is located in a way that hides essential forms below it, repairing tools can’t re-create the are that has been modified when using repairing tools.
Then using selection tools and select and mask options as well as a good layer structure can be useful.


Original photo: Hassan Khan on Unsplash
See parts of the editing process below. First, a healing brush tool was used to hide most of the nose ring. Then, the right nostril was selected and copied to a new layer. It was then reflected and some light and color adjustments were done. After that, the layers were merged into one and a little bit more editing was done by using the clone stamp tool.