COLOR CORRECTION

Color correction is a technical process that fixes color issues and aims to make a photograph look as naturalistic as possible.
The color correction can be done with multiple adjustment tools. In this chapter, we are focusing on Levels, Curves and Hue/Saturation. Even if Brightness and Contrast, as well as Exposure adjustments, might seem easy to understand, they are actually quite limited when it comes to editing a photo.
However there are many other useful tools that we are not discussing in this chapter, such as Color Balance and Selective Color, but the same principles that are tied to color theory work in the same way with all color correction tools. Mastering a few adjustments will give you the tools needed for editing color balance and exposure in a photo.
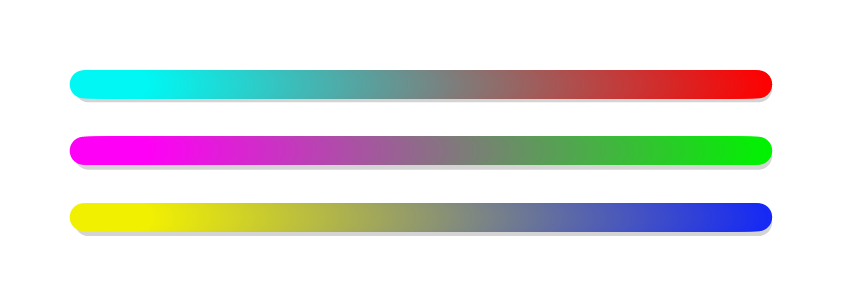
In a nutshell, understanding color correction and color balance has one basic rule: all the color correction is based on the balances between primary colors and secondary colors and the tools adjust color between these parameters. If we want less red, we will add cyan, if we want less green, we will increase magenta, and so on. With curves and levels, you will also adjust amounts of black and white within every color channel. You can also adjust brightness and contrast in the RGB channel when you will only adjust highlights, mid-tones, and shadows without making changes to color channels.
The first things you need to think about before color correction are things that you want to change: if you are aiming for a realistic, bright outcome, a good idea is to start by paying attention to things that need to be black and things that need to be white. Some of the tools, like Levels and Curves have a special set of eyedropper tools for whites, blacks, and greys. When you click areas that you know should be white or grey or black with eyedropper tools that are made for them, photo editing software will automatically correct the white balance according to those areas.
In the following chapters, adjustments are being edited straight to the original photo. If the picture is edited like that, the editing will affect the original pixels. See the chapter Adjustment layers in the Photo Collagé section to learn more about a non-destructive way of adjusting a photo.


