|
Curves
Goals
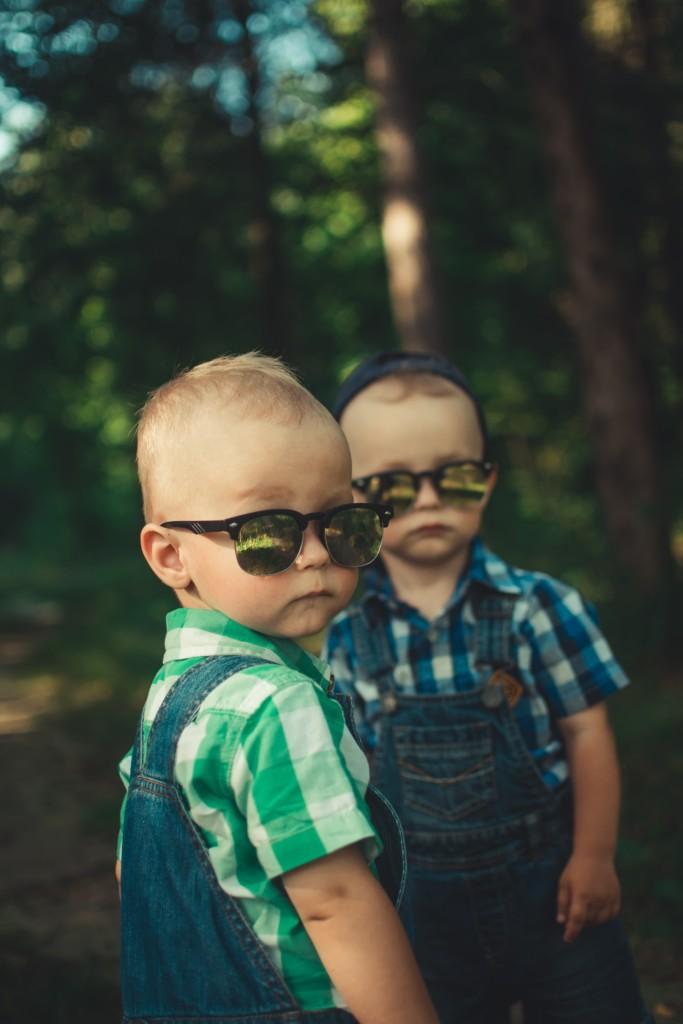
In this chapter, you will learn to use Curves for color and exposure adjustment. Curves is a great tool for adjusting the photo and gives you a little bit more control compared to levels. Curves lets you control the overall brightness and contrast in the photo as well as colors in a very detailed way. Curves also has automatic tools for correcting white balance and exposure.
Content in a nutshell
- Curves is an adjustment tool for adjusting both color and exposure
- Curves gives you a great amount of control and subtle ways for editing in detail
- With curves, you can easily change a specific tone in a specific area in the photo without affecting the other area
Curves Window
Curves has all of the same things as levels, but it also has even more control.
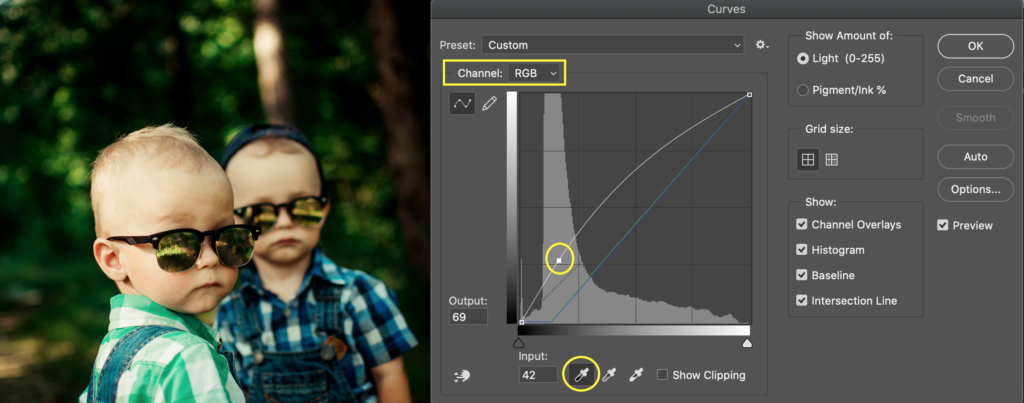
Let’s first take a look at the curves windows as we did with levels in the previous chapter. Curves, as every other adjustment can be found in Photoshop in the upper panel when you go from Window to Adjustments or in Adjustment layers panel in the layers window (see the chapter of Adjustment layers here). Shortcut for Curves is cmd / ctrl + M when working with Photoshop.
Auto mode
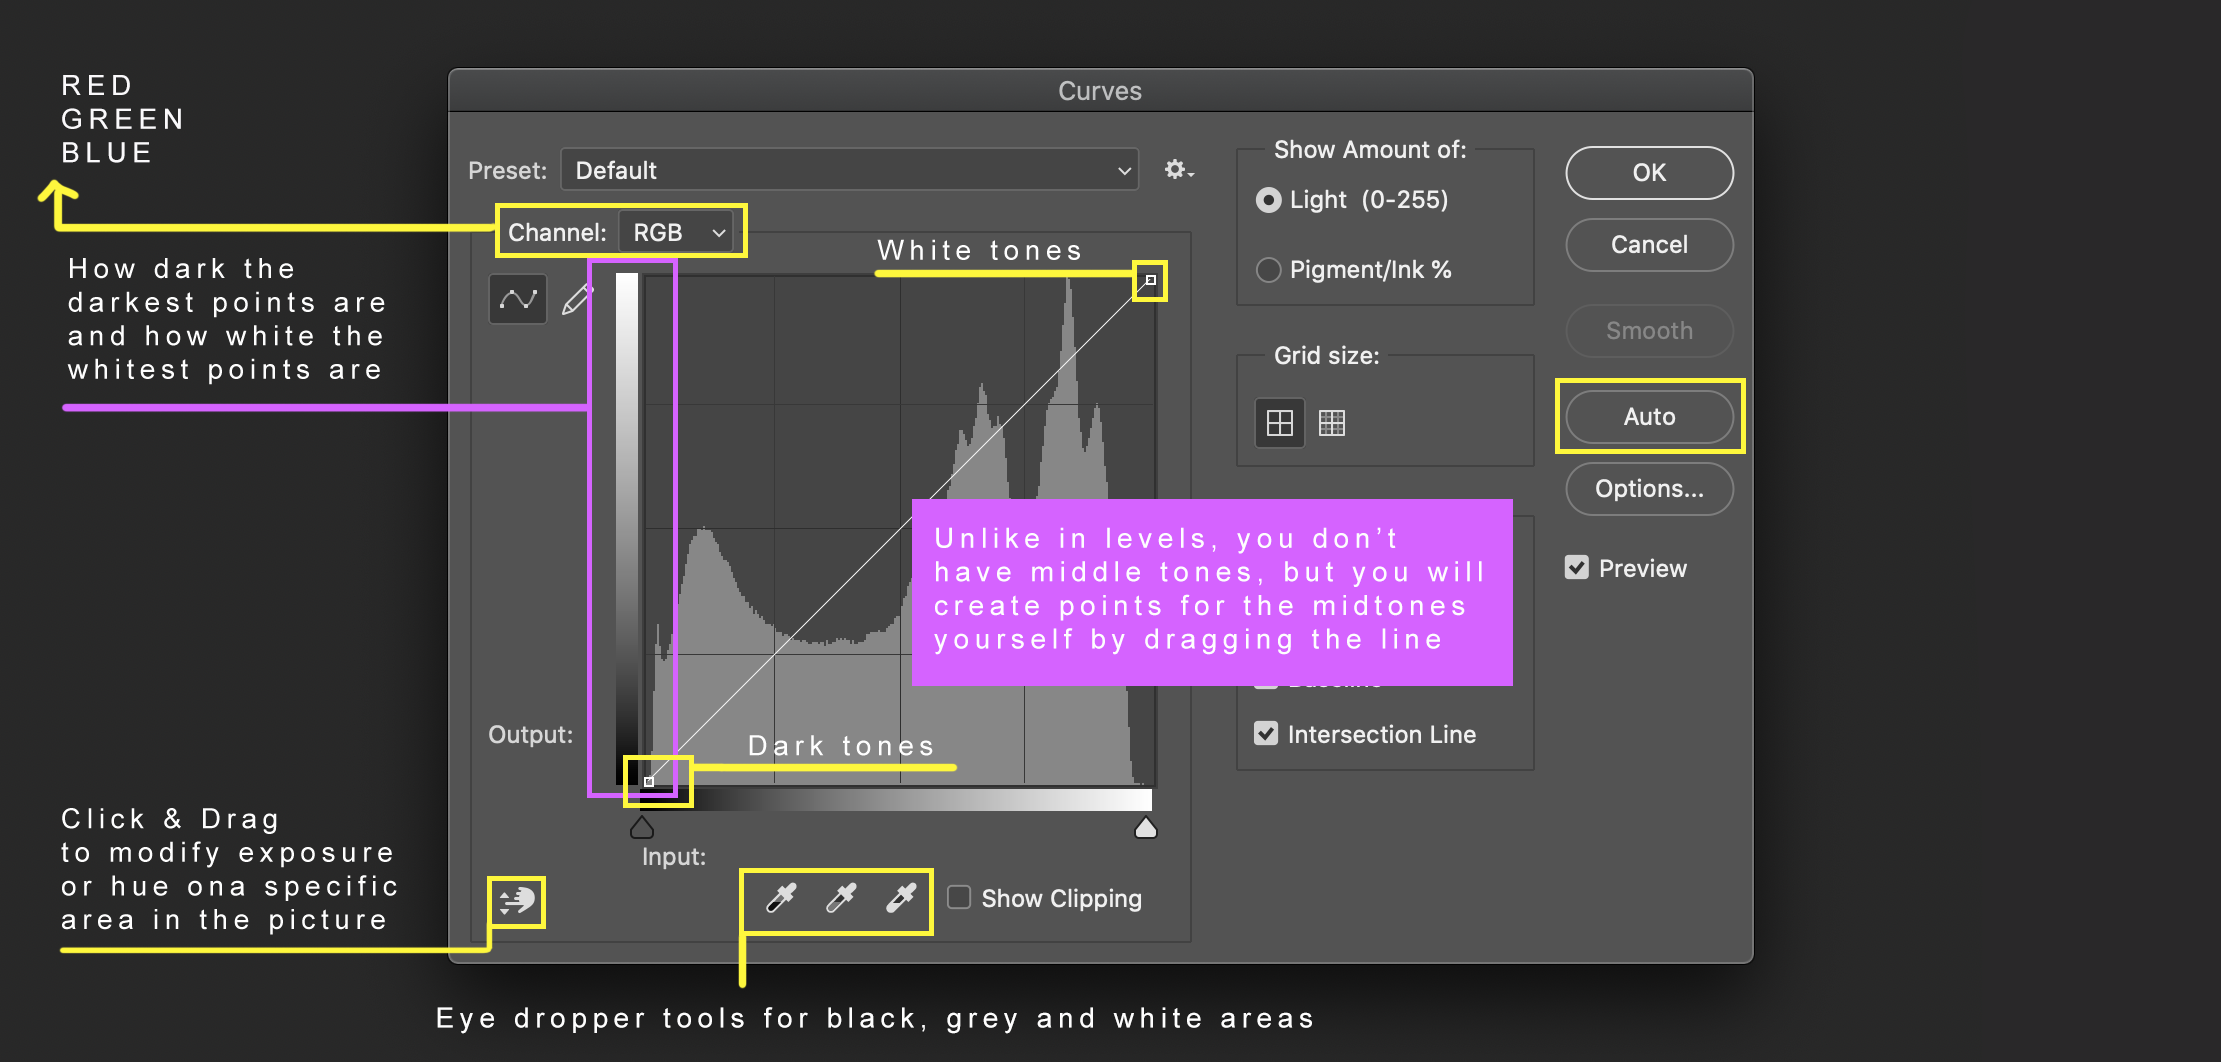
Firstly, in the curves window, you see the Auto mode -button, which will do adjustments automatically. This can be a good place to start and edit the pre-made adjustments even further. Or you can always choose to adjust everything from the scratch.
Histogram
As in the levels window, there is the same histogram in the middle, but the output bar, that defines how dark the darkest points are and how white the whitest points are is on the left side of the window. You can also see the same eyedropper tools for black, grey, and white that creates a better white balance and exposure automatically if you know that there are pure whites, greys, and blacks in the picture.
Below the histogram, you can see the same pyramid-like icons that you can drag left and right and it affects the darkest tones and highlights in the picture and modifies the line that goes across the histogram.
However, unlike in levels, there is no icon for mid-tones. In curves, you can create as many points in the middle that will affect the tones in between the darkest point and the brightest points. You just drag the line in the middle of the histogram and it will create a point for that specific modification. You can create as many points as you need to get more control over the tones and if you want to delete a point, you click it and press delete or backstep.
Click and Drag


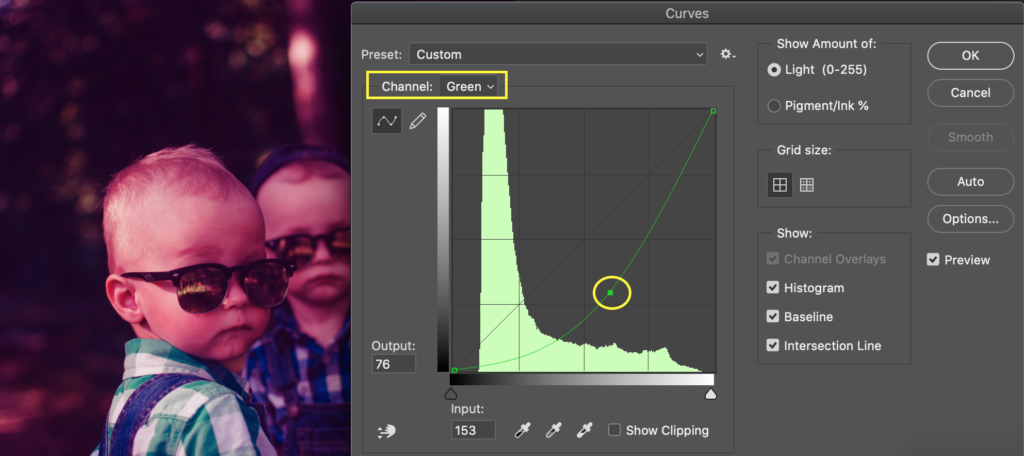
Color correcting in Curves follows the same principles as in Levels. In the Curves windows, you can select which color you want to adjust. In the original photo, you have a straight diagonal line across the histogram. In curves, every color increases when you go above that line and decreases and so for adds the opposite color to the picture.
A great thing about curves is that if you don’t want to work directly with the histogram, curves actually has a tool for adjusting a specific tone straight from the picture. With the hand icon (click and drag), you can select a point in the picture that you want to edit, and by pressing it down, dragging it up to brighten and down to darken that area. Using the finger tool, you can still affect that specific point within the histogram further.
You can also use this tool for color correction and have a lot of control of the colors without much effort. For example, if you have a portrait and you want the skin tone to be a little bit redder, you could simply choose the red channel and use the hand tool to drag that specific skin area to create more redness without it affecting the redness of the whole image. Doing color correction with curves that way gives way more control than levels, even if levels is a great tool for color and exposure correction as well!