|
Dodge, Burn and Sponge
Goals
In this chapter, you will learn how to use dodge, burn, and sponge tools to edit images' brightness, darkness, and saturation.
Content in a nutshell
- Dodge, burn and sponge tools are tools that have brush-like qualities, are easy to use, and can create more effectiveness, deepness, and other effects into a picture.
- Dodge tool creates light to the image, burn tool makes things darker and sponge tool controls the saturation of a certain area by increasing or decreasing color’s vibrance.
- These tools are easy to use and can be done to an image without added layers.
The Dodge tool and the Burn tool are based on a traditional darkroom technique for regulating exposure on specific areas of a print. Sponge tool in photo editing software is a similar tool for controlling the saturation in a specific area in an image. Dodging means that we bring more light to a certain area and burn on the other hand means that we want a certain area to be darker. Dodging and burning can be done in several ways in photo editing software but in this chapter, we focus on specific tools that are created for manual editing on a picture.
Each of these tools has brush-like qualities. Their size, brush edge sharpness, which exposure editing is going to be affecting (shadows, mid-tones, and highlights), strength can be adjusted manually.
Each of these tools adjusts only the selected layer and its content. If you only have one background layer, which is your photo you don't have to worry about the layer structure. However, if you have multiple layers that are overlapping and you want to use Dodge, Burn, and Sponge in a way that they would affect the whole picture, you need to combine the layers by selecting them, right-clicking, and choosing merge layers.
Burn tool
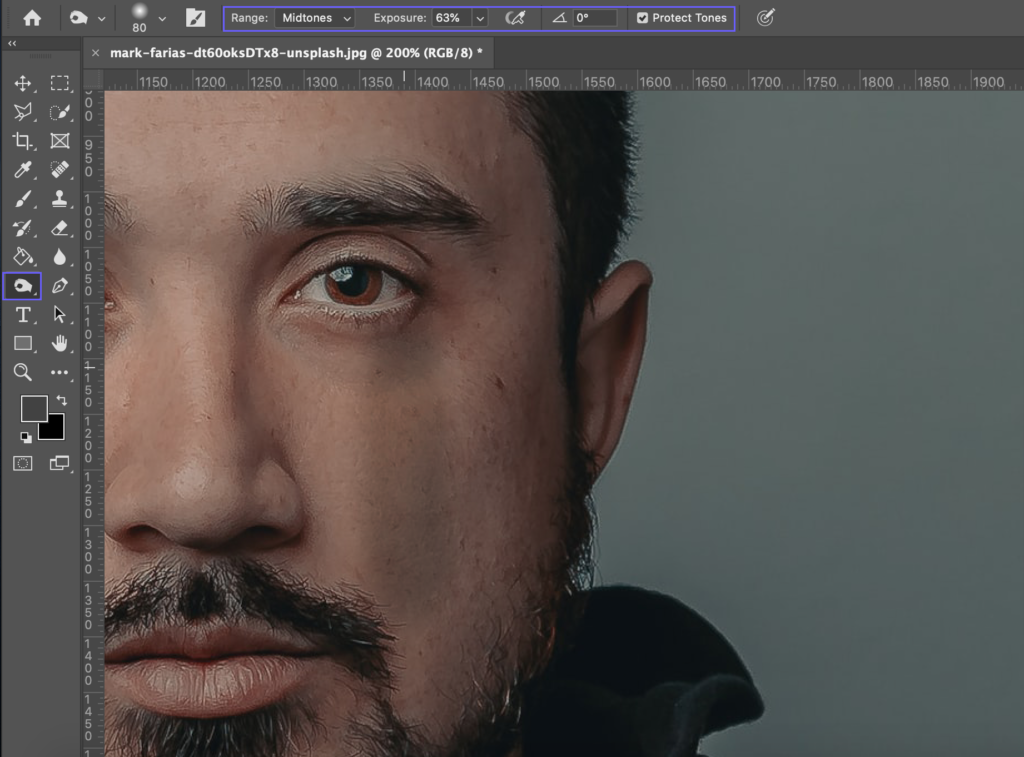
Original photo: Mark Farias on Unsplash
The Burn tool darkens the area where it is used. The darkness range allows you to adjust whether it primarily affects highlights, mid-tones, or shadows, and how much it darkens that area. Each layer of burn tool strokes adds black or gray to the image. In addition, you can choose whether or not the tool tries to keep the original tones of the image.
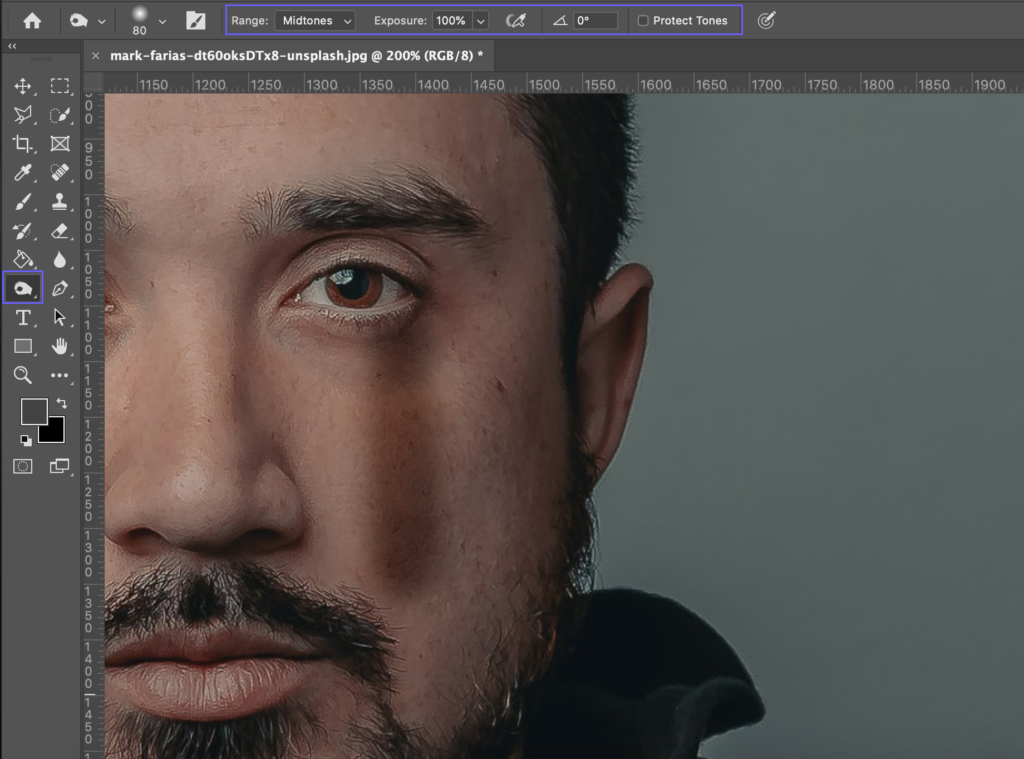
Dodge
Original photo: Mark Farias on Unsplash
The dodge tool brightens, i.e. creates light on the area that is being edited. As with Burn Tool, Dodge Tool settings can be adjusted in the same ways. Instead of black, the Dodge tool creates white.
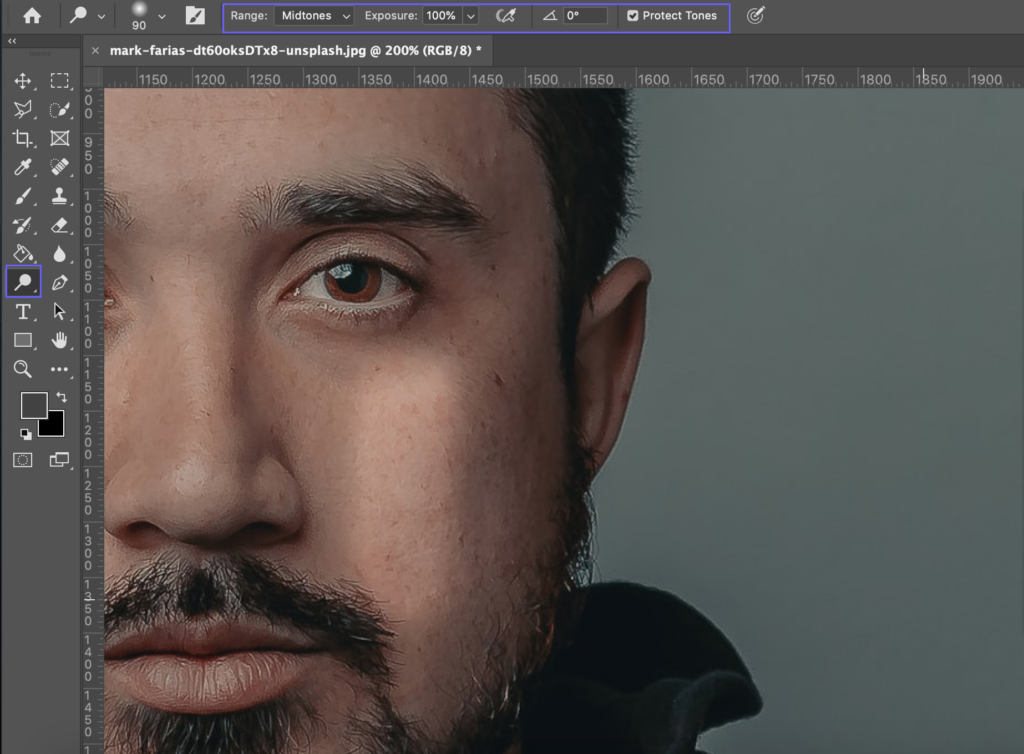
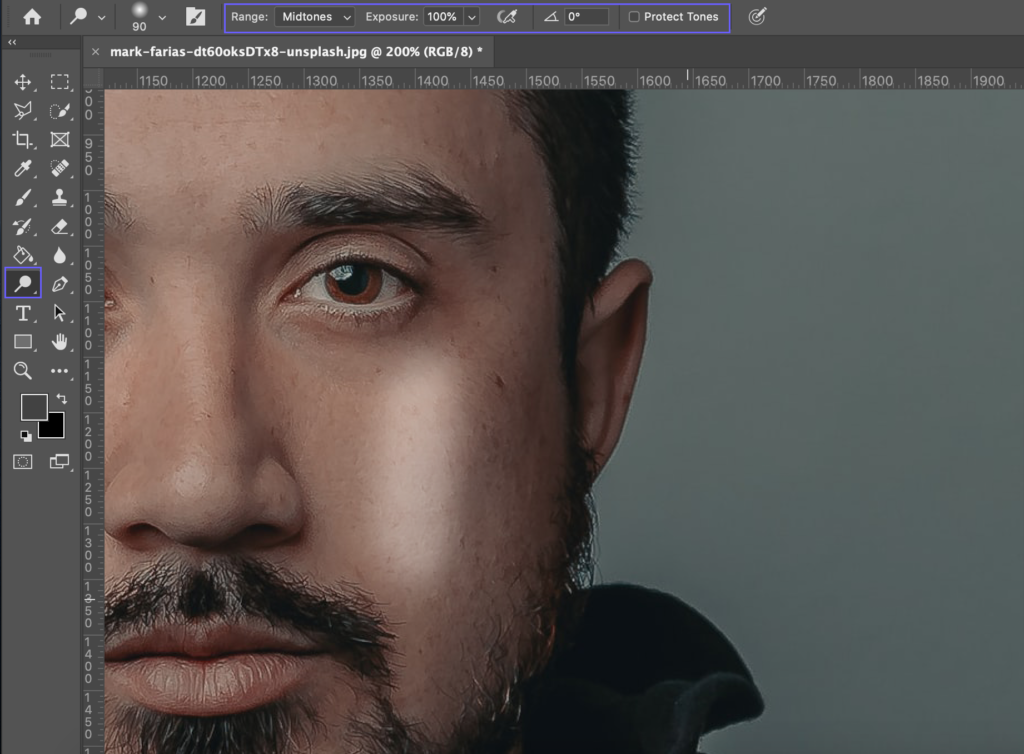
Sponge
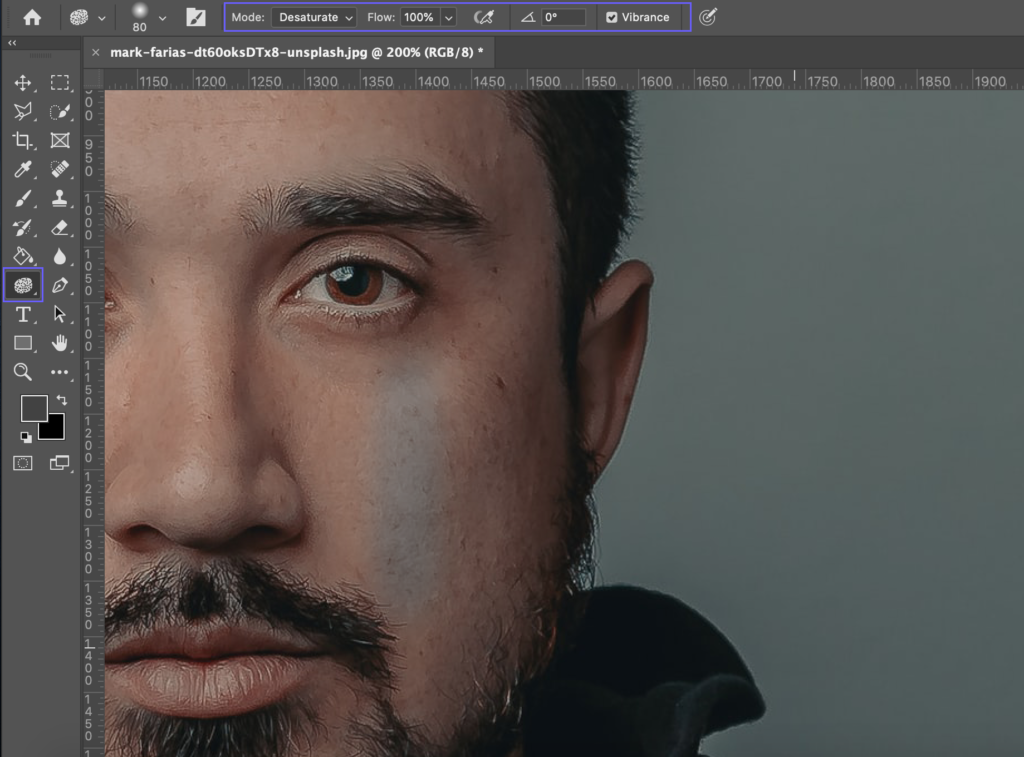
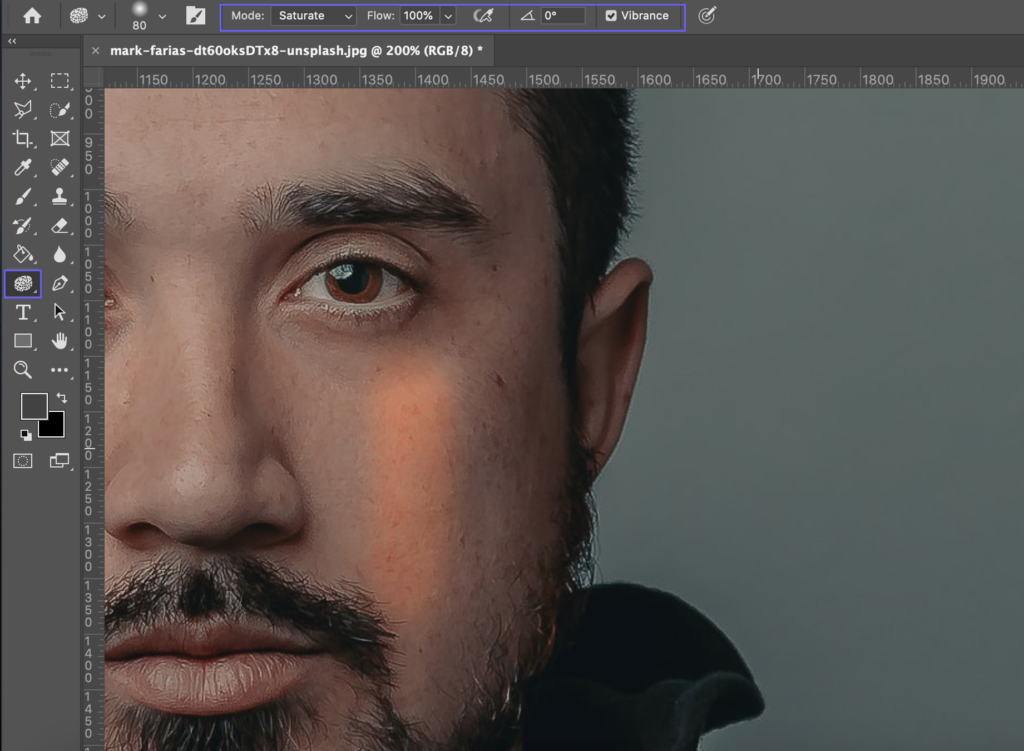
Original photo: Mark Farias on Unsplash
The Sponge tool, as its name implies, can be thought of as a sponge that either absorbs tones from the image or lets more nuance into the image. As with the previous tools, you can adjust the size and edge of the brush and whether you want it to desaturate or saturate the area that is being edited. With the Sponge Tool, for example, you can brighten certain color areas in an image, or even remove the color from the whole image expect a certain detail.


In the picture above, sponge tool has been used to emhasize the umbrella ja de-saturating rest of the image. Original photo: Austin Scherbarthn on Unsplash
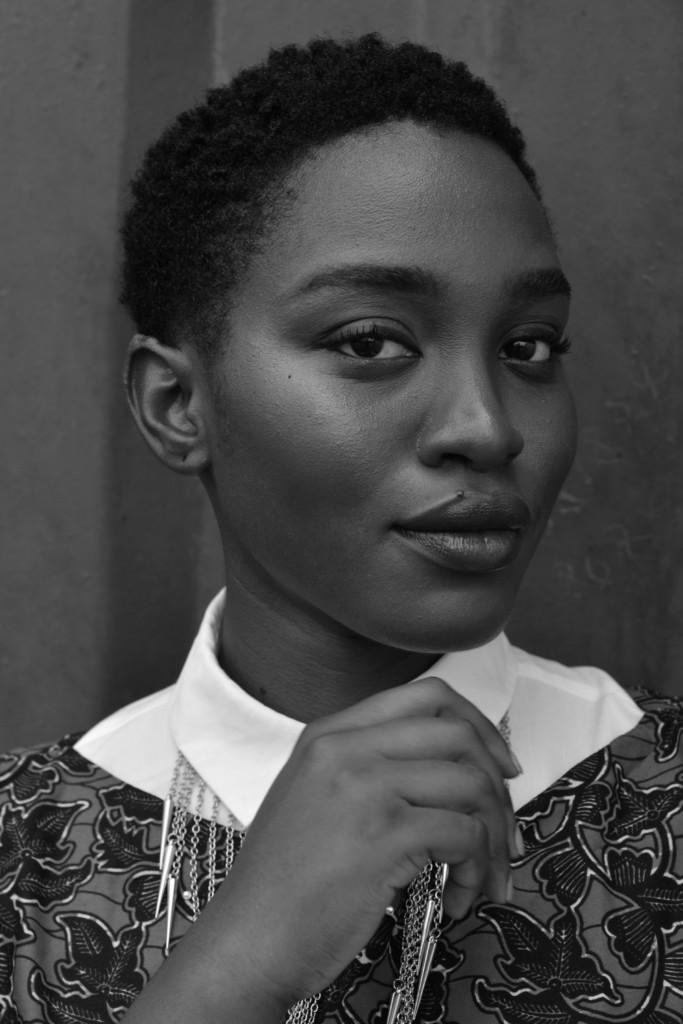

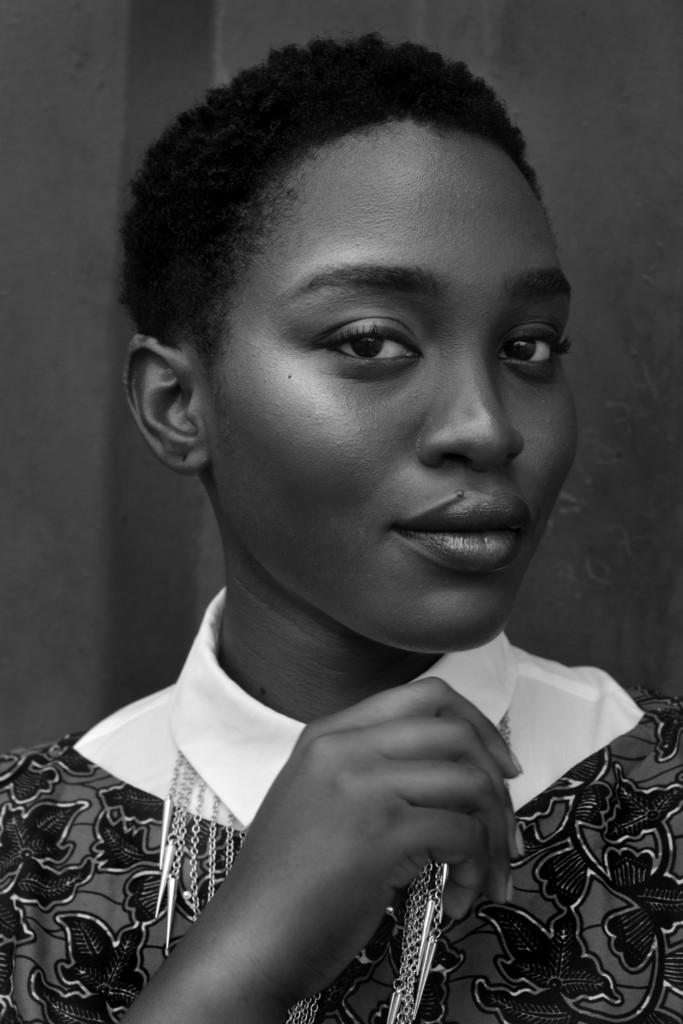
Original photo: Prince Akachi on Unsplash
Usually dodge, burn and sponge tools are being used together in photo retouching. See above the process when a portrait has first been converted from color to black and white. In the second picture, the photo has been edited with the dodge tool. In the third picture, it has also been re-touched with the burn tool.